In this tutorial I’ll show you how to build a basic bare-metal application for Cortex-M4F micro-controller using LLVM without having to resort to building the LLVM toolchain itself which can be tedious and time consuming. All in all LLVM is recognized for it’s ability to compile for different architectures (a.k.a cross-compile) so we should be good even using the most default of packages.
The following steps were done on Alpine Linux image using Windows -hosted Docker (image alpine:latest) but all of it shall be applicable to other operating systems.
From this point on I’ll assume that you have Docker installed and ready. So let’s begin by building the image with all tools necessary for development. Get the Dockerfile that I’ve prepared for this tutorial from here: https://github.com/MightyDevices/docker-llvm-arm-none-eabi-builder Open up the command prompt in the directory where you’ve put the Dockerfile and type in the following command to build the image:
docker build -t arm-build .Image will go by the name arm-build. This process may take a while as couple of things needs to be done. Firstly clang/llvm toolchain is installed which is followed by GNU make installation. Then we download the arm-none-eabi toolchain so that we have libraries (like libm for math) for our projects.
After the image build is done we can start the container in interactive mode with /bin/sh interpreter running. Docker also allows us to use a directory that will be shared between the Host OS (In my case: Windows) and Guest OS (Alpine) so let’s have that one as well and use it to store the project files. The command for all of that should look like this:
mkdir share
docker run -it -v"%cd%/share":/share arm-build sh
Here I’ve used the Windows magical %cd% in order to get the full path to the current directory. Docker on Windows has a hard time with relative paths. After executing the command you’ll be left with the Alpine Linux shell.
Let’s now get the source files for the test project and try to adapt them to this build environment. How about we use something simple, like this one: https://github.com/MightyDevices/startup-stm32l433. Let’s clone it into the ‘share’ directory. In the Alpine Shell type in following commands
cd /share
git clone https://github.com/MightyDevices/startup-stm32l433
cd startup-stm32l433
This project was prepared to be build either with GCC or with LLVM. In order to build with LLVM Toolchain one needs to use the following command:
make TOOLCHAIN=llvm
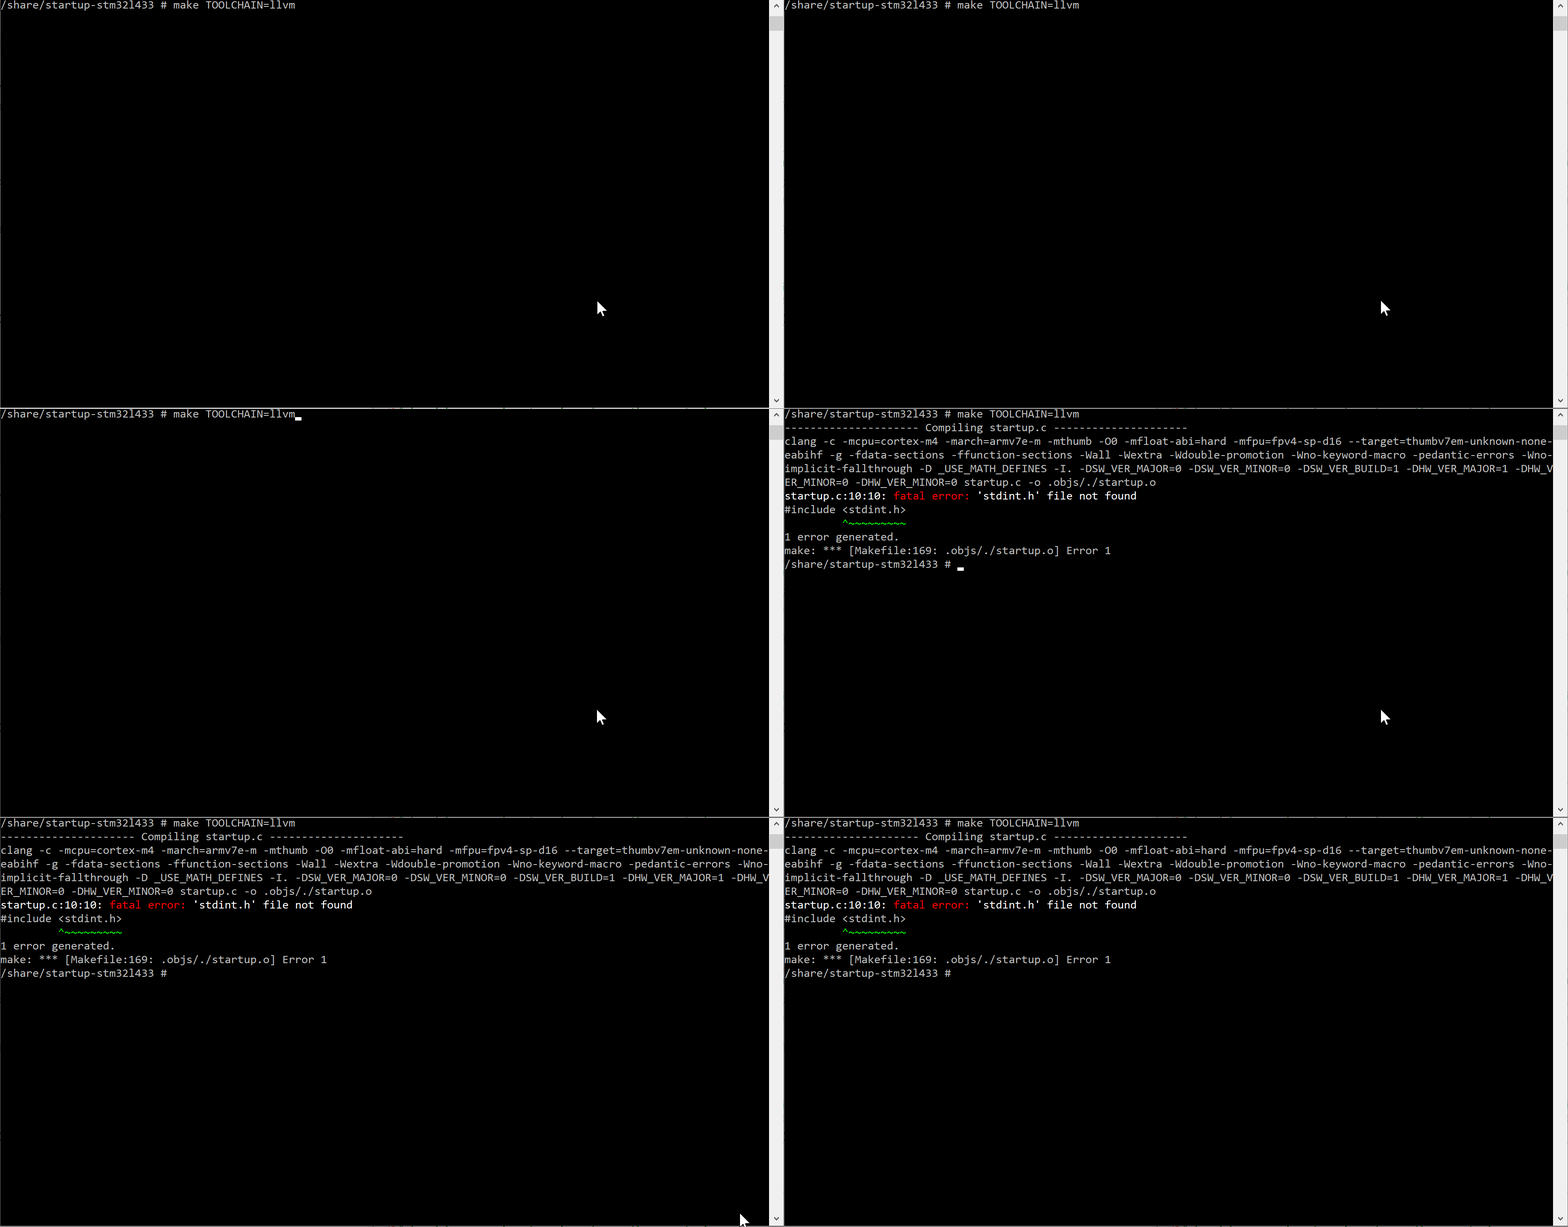
If you do that you’ll notice an error that is caused by the lack of include files/ libraries. The LLVM is a great for cross-compiling but it comes with no prebuild libraries and header files, and since we want to avoid the need of building these let’s use the libraries from the official ARM GCC Toolchain.
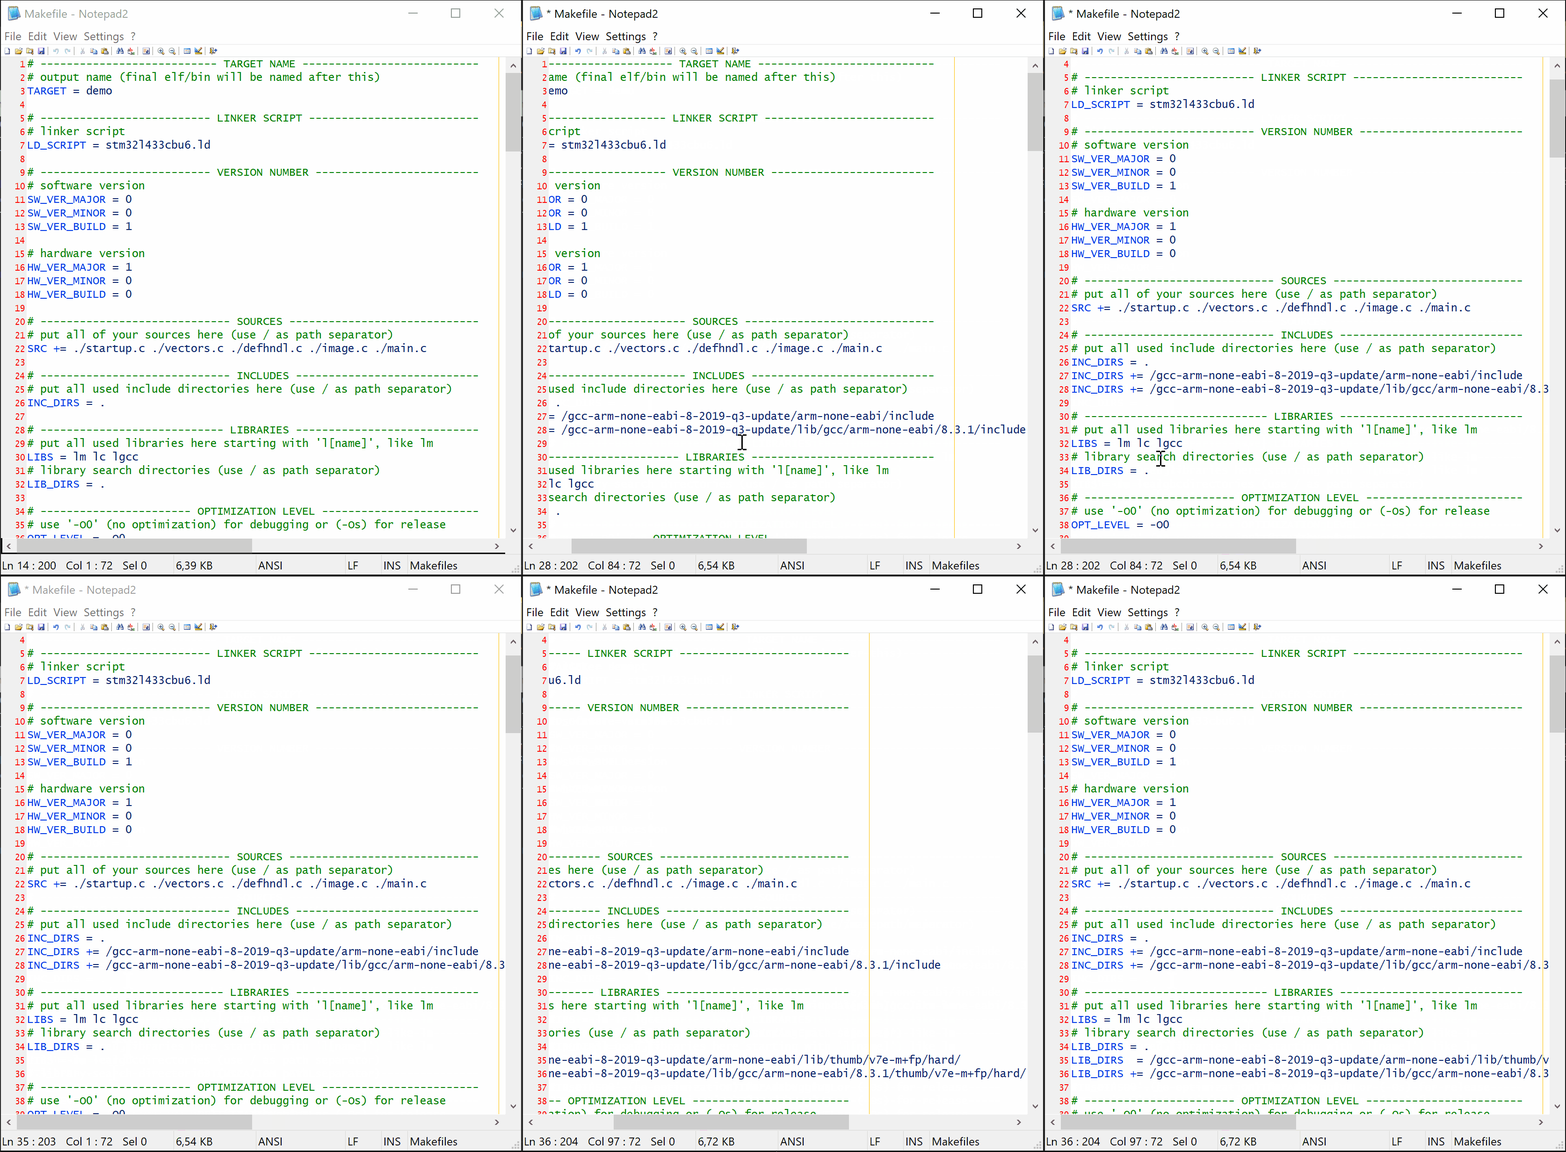
In the project’s Makefile look for the lines that contain the INC_DIRS and LIB_DIRS. Since the docker image build process took care of downloading the ARM GCC Toolchain let’s now point the Clang to proper directories that contain all the necessary files. For the includes append the following:
INC_DIRS += /gcc-arm-none-eabi-8-2019-q3-update/arm-none-eabi/include
INC_DIRS += /gcc-arm-none-eabi-8-2019-q3-update/lib/gcc/arm-none-eabi/8.3.1/include
and for the libraries use the paths below:
LIB_DIRS += /gcc-arm-none-eabi-8-2019-q3-update/arm-none-eabi/lib/thumb/v7e-m+fp/hard/
LIB_DIRS += /gcc-arm-none-eabi-8-2019-q3-update/lib/gcc/arm-none-eabi/8.3.1/thumb/v7e-m+fp/hard/
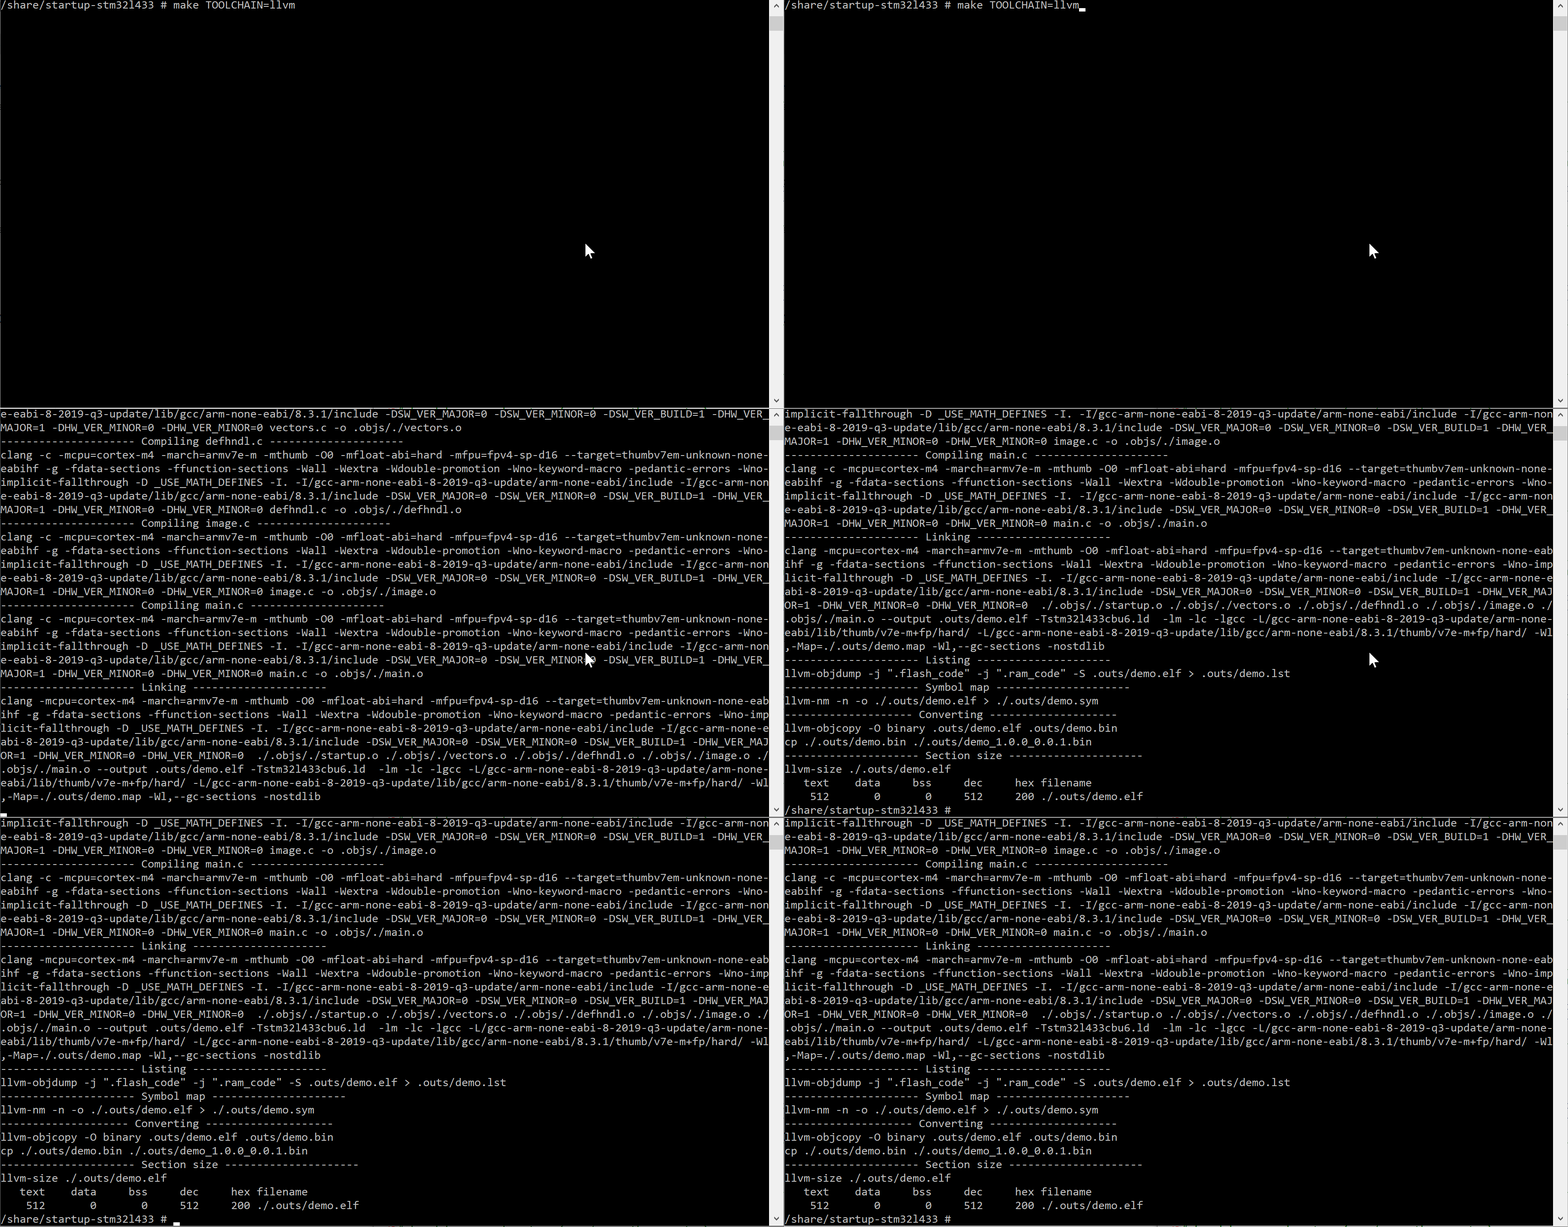
This complex path name comes from the fact that we use a Cortex-M4F micro-controller which has the armv7e-m core with hardware floating point unit (FPU), hence the hardat the end of the path. If you were to build a project for different core/FPU these would need to be altered accordingly. After all that you should end up with a working binary image, again, by issuing the make command
make TOOLCHAIN=llvm